Overview
Plan View provides a graphical way of recording and reviewing findings. It allows assessors to work directly against floor plans, place flags, and associate issues with specific locations.
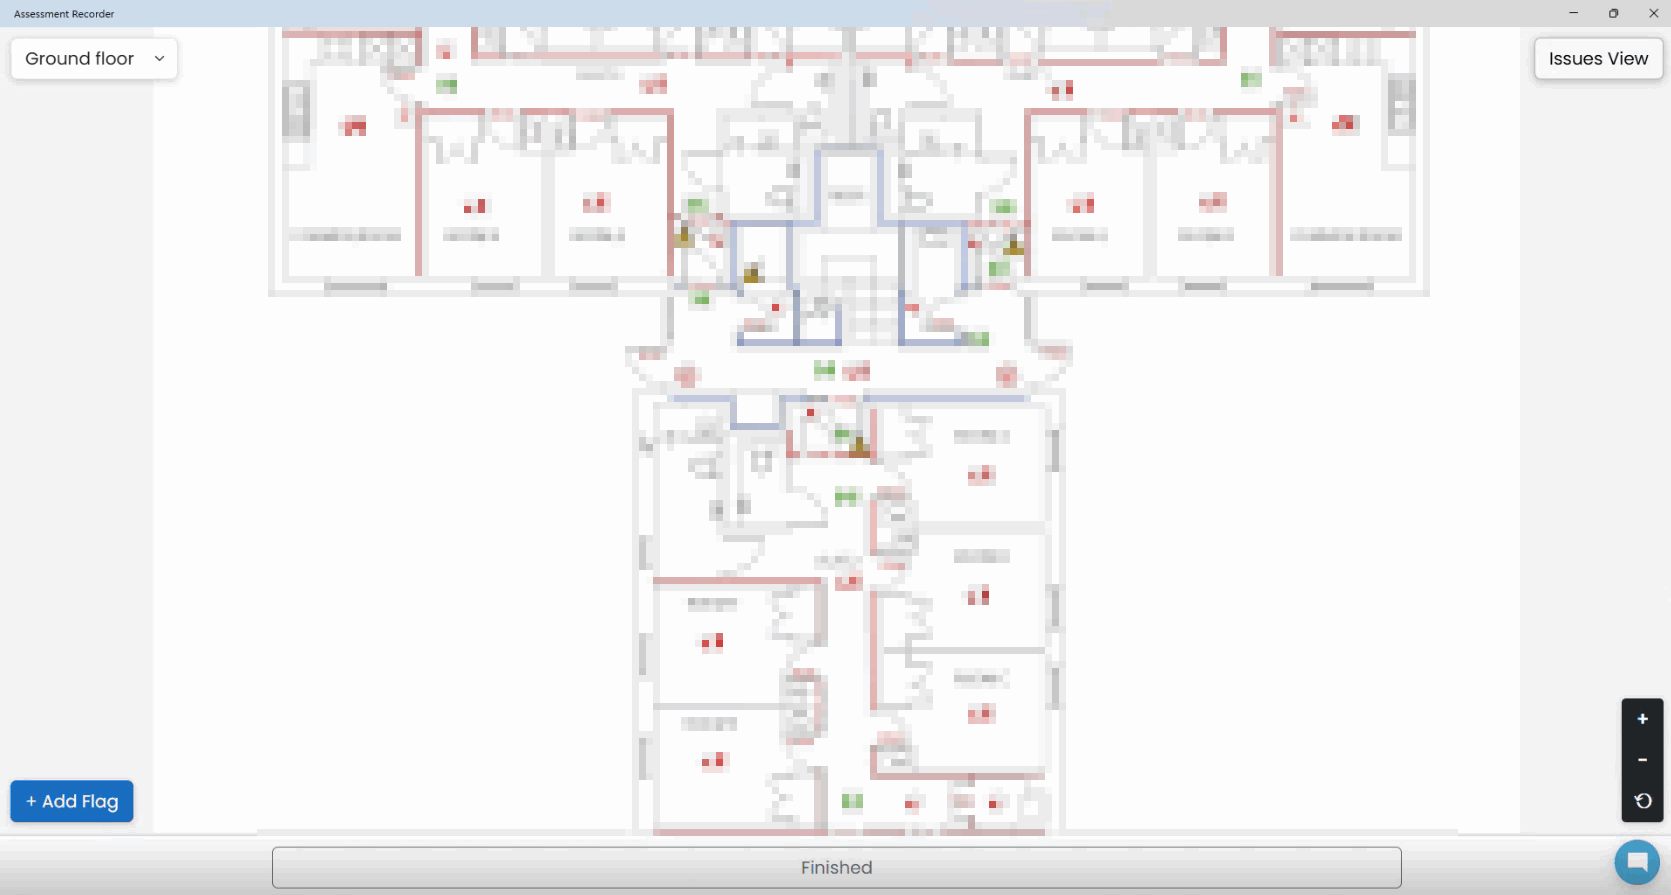
Opening Plan View
Plan View becomes available once at least one floor plan has been uploaded.
To open it:
- Open the assessment.
- Select Plan View from the assessment navigation options.
Navigating Around a Plan
Plan View supports:
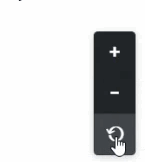
- Zooming in and out
- Moving around the plan
- Resetting the view
- Switching between uploaded floor plans
Switching Between Plans
If multiple plans have been uploaded:
- Open Plan View.
- Select the required floor level or plan.
- Continue recording findings against the correct location.
Moving Between Issues View and Plan View
During an assessment you may regularly switch between:
- Issues View to manage observations and recommendations.
- Plan View to identify the physical location of findings.
The two views work together and continuously share recorded information.
Understanding Location Markers
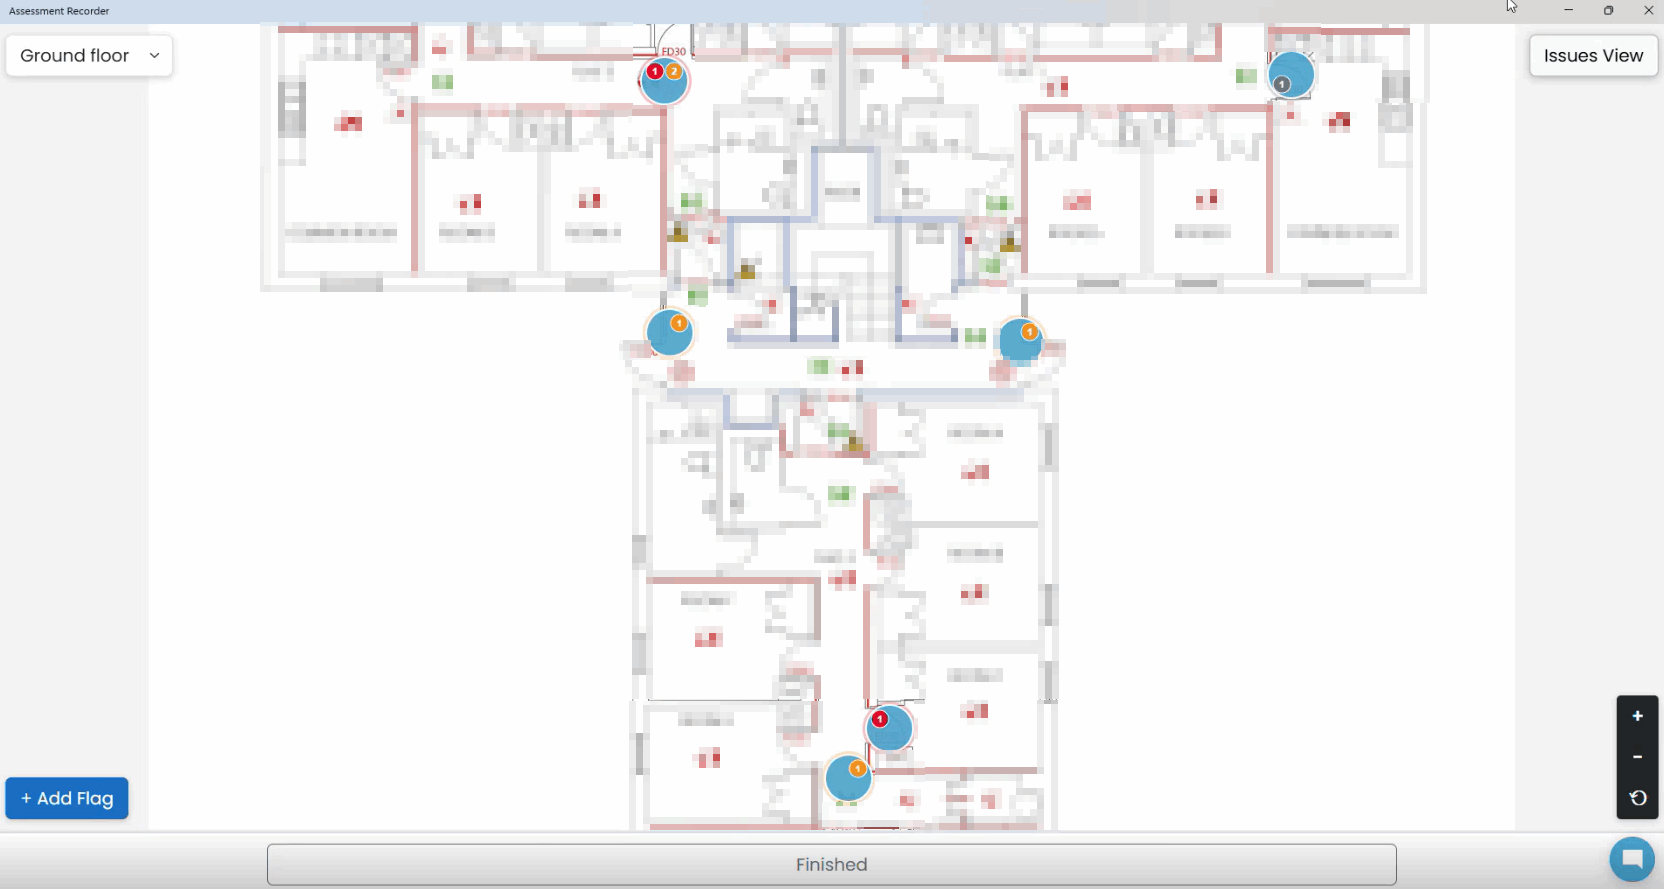
When issues are linked to a plan, location markers display on the drawing.
These markers help you:
- Locate findings quickly
- Review recorded issues
- Confirm findings have been recorded against the correct area
- Review issues during discussions with site representatives
Best Practice
- Work from the correct floor plan before adding findings.
- Zoom in where necessary for accurate placement.
- Review marker positions before saving findings.
- Use Plan View alongside Issues View throughout the assessment.
Was this article helpful?
That’s Great!
Thank you for your feedback
Sorry! We couldn't be helpful
Thank you for your feedback
Feedback sent
We appreciate your effort and will try to fix the article