Overview
Floor plans help you record location-based findings during an assessment. Once uploaded, plans can be used within Plan View to place flags, record issues, and link findings to specific areas of the building. Plans can be added either from existing files or by capturing images directly on the device.
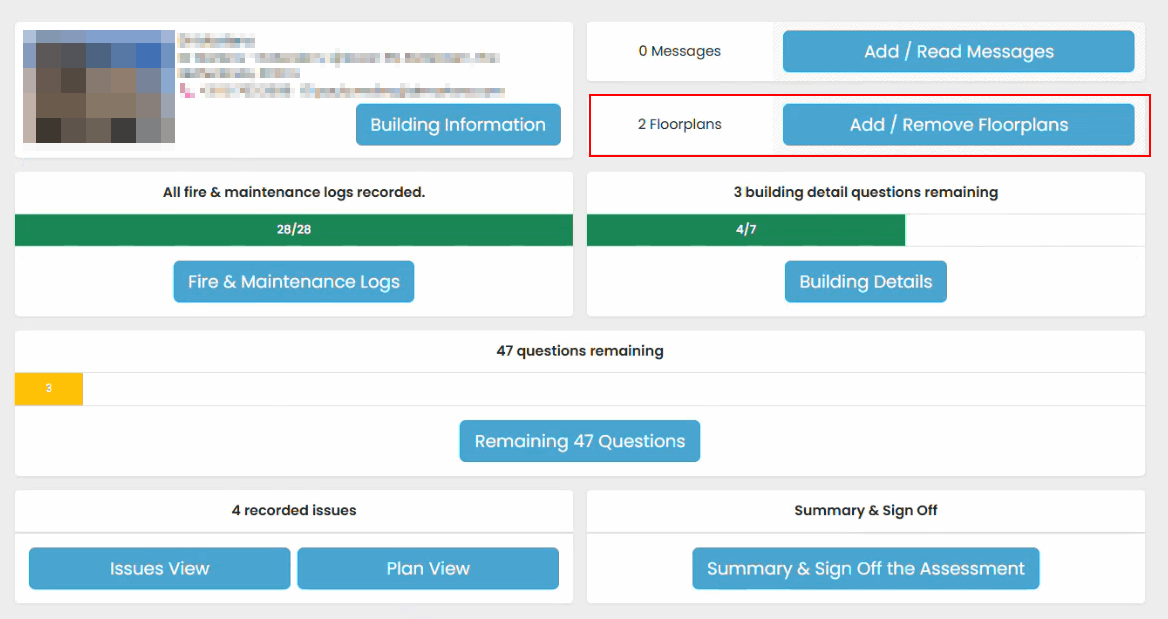
Opening Floor Plan Management
- Open the assessment.
- From the assessment overview screen, locate the floor plan area.
- Select Add / Remove Floor Plans.
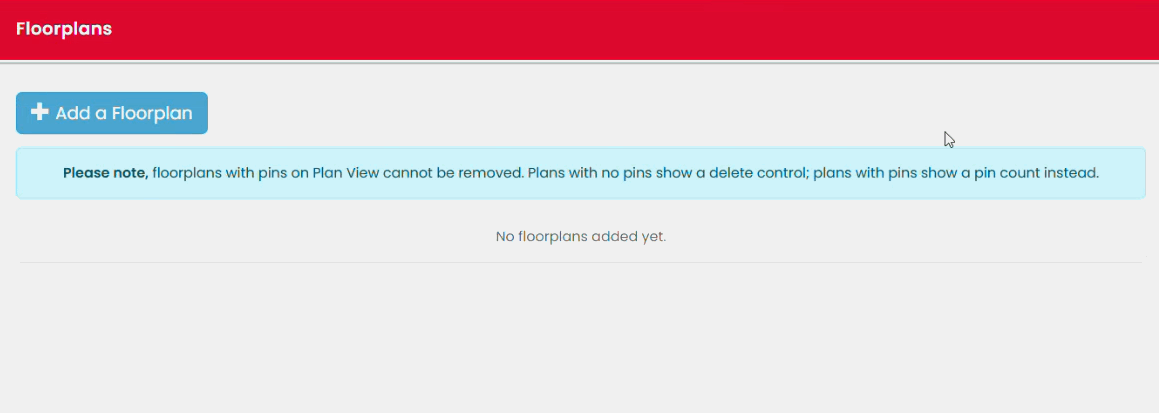
Adding a Floor Plan
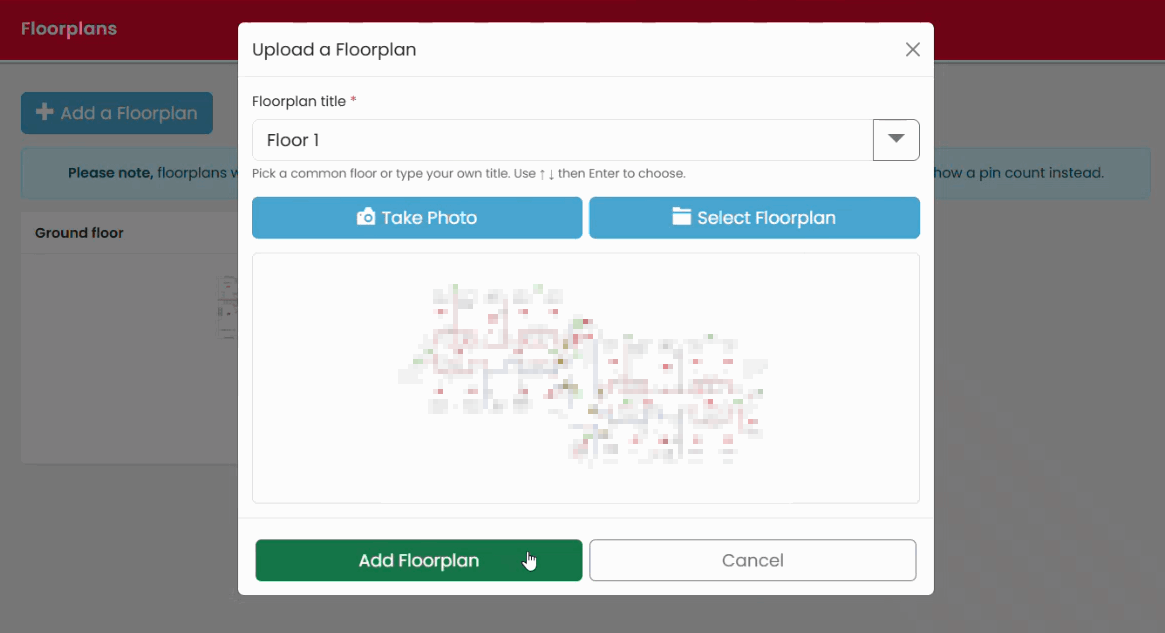
Assessment Recorder allows plans to be added in two ways:
Importing Existing Files
- Select Add Floor Plan.
- Browse to the plan stored on your device.
- Select the required file.
- Confirm the upload.
Capturing a Plan Using the Device Camera
If a digital plan is unavailable:
- Select Take Photo.
- Capture the plan image using the device camera.
- Confirm the image.
- Save it to the assessment.
Viewing Uploaded Plans
Once uploaded:
- Plans become available within Plan View.
- Multiple plans can be stored for a single assessment.
- Plans can be selected individually when recording findings.
Best Practice
- Use the clearest plan available.
- Ensure photographed plans are as flat and straight as possible.
- Upload plans before commencing the site walkaround where practical.
- Verify uploaded plans are readable before continuing.
Was this article helpful?
That’s Great!
Thank you for your feedback
Sorry! We couldn't be helpful
Thank you for your feedback
Feedback sent
We appreciate your effort and will try to fix the article