Overview
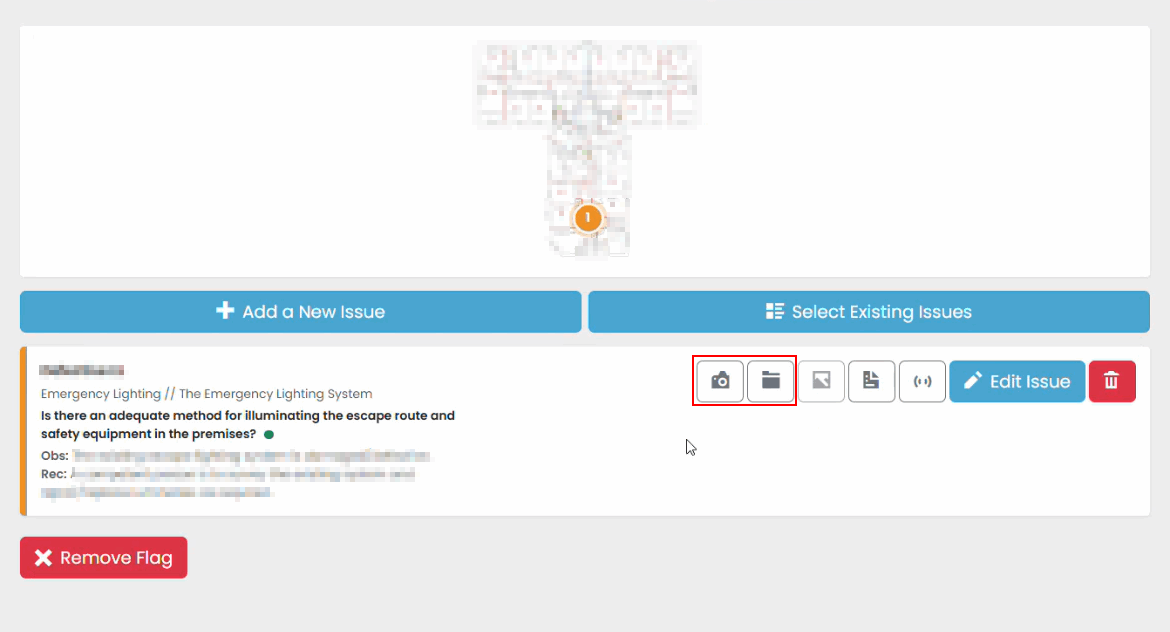
Photographs provide visual evidence to support observations recorded during an assessment. Images can be attached directly to issues and linked to specific locations on a floor plan. During the workshop demonstration, photographs were added both when creating issues and when updating existing findings.
Why Add Photos?
Photographs help to:
- Support recorded observations
- Provide evidence of deficiencies identified during the assessment
- Assist with validation and review processes
- Help explain findings within the final assessment record
Adding a Photo While Creating an Issue
When creating a new issue:
- Create or select an issue.
- Choose the option to add an image.
- Take a photograph using the device camera, or select an existing image.
- Confirm the image.
- Save the issue.

Adding a Photo to an Existing Issue
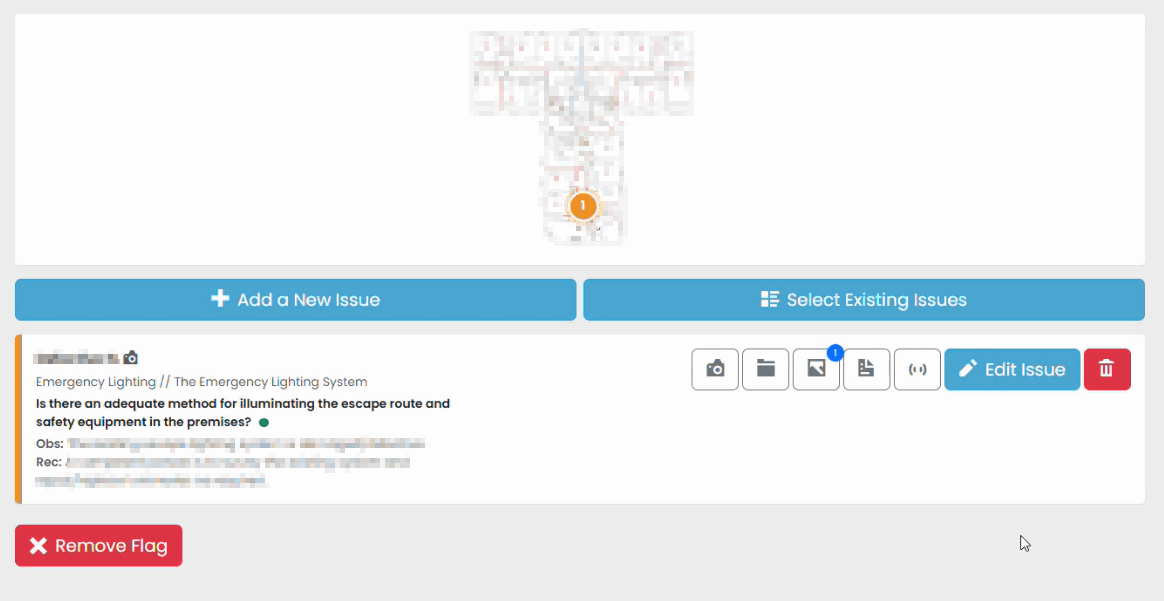
You can attach photographs after an issue has already been created.
- Open the issue.
- Select the image option.
- Add the required photograph.
- Save your changes.
Reviewing Attached Photos
Issues containing photographs can be reviewed at any time.
Selecting the image allows you to:
- View the image in full size
- Confirm the correct photograph has been attached
- Review supporting evidence before sign-off
Best Practice
When capturing photographs:
- Ensure images clearly show the item being referenced.
- Take photographs before moving on to the next location.
- Confirm images are attached before saving the issue.
- Where appropriate, capture enough detail to support the observation without taking excessive numbers of photographs.
Was this article helpful?
That’s Great!
Thank you for your feedback
Sorry! We couldn't be helpful
Thank you for your feedback
Feedback sent
We appreciate your effort and will try to fix the article