Overview
Assessor Desk includes a number of validation-focused areas that help Validators locate, review and manage assessment validation work.
These areas are designed to support different stages of the validation process and provide visibility of assessments requiring validator attention.
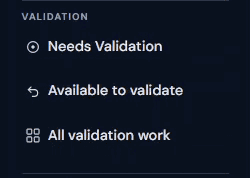
The validation areas available are:
- Needs Validation
- Available to Validate
- All Validation Work
When to Use Each Validation Area
Each validation area serves a different purpose.
| Area | Purpose |
|---|---|
| Needs Validation | Assessments that require validation activity. |
| Available to Validate | Assessments available for a validator to claim. |
| All Validation Work | A broader view of validation activity across assessments. |
Using the correct area helps you quickly find the work that requires attention.
Needs Validation
The Needs Validation area displays assessments that require validation by you.
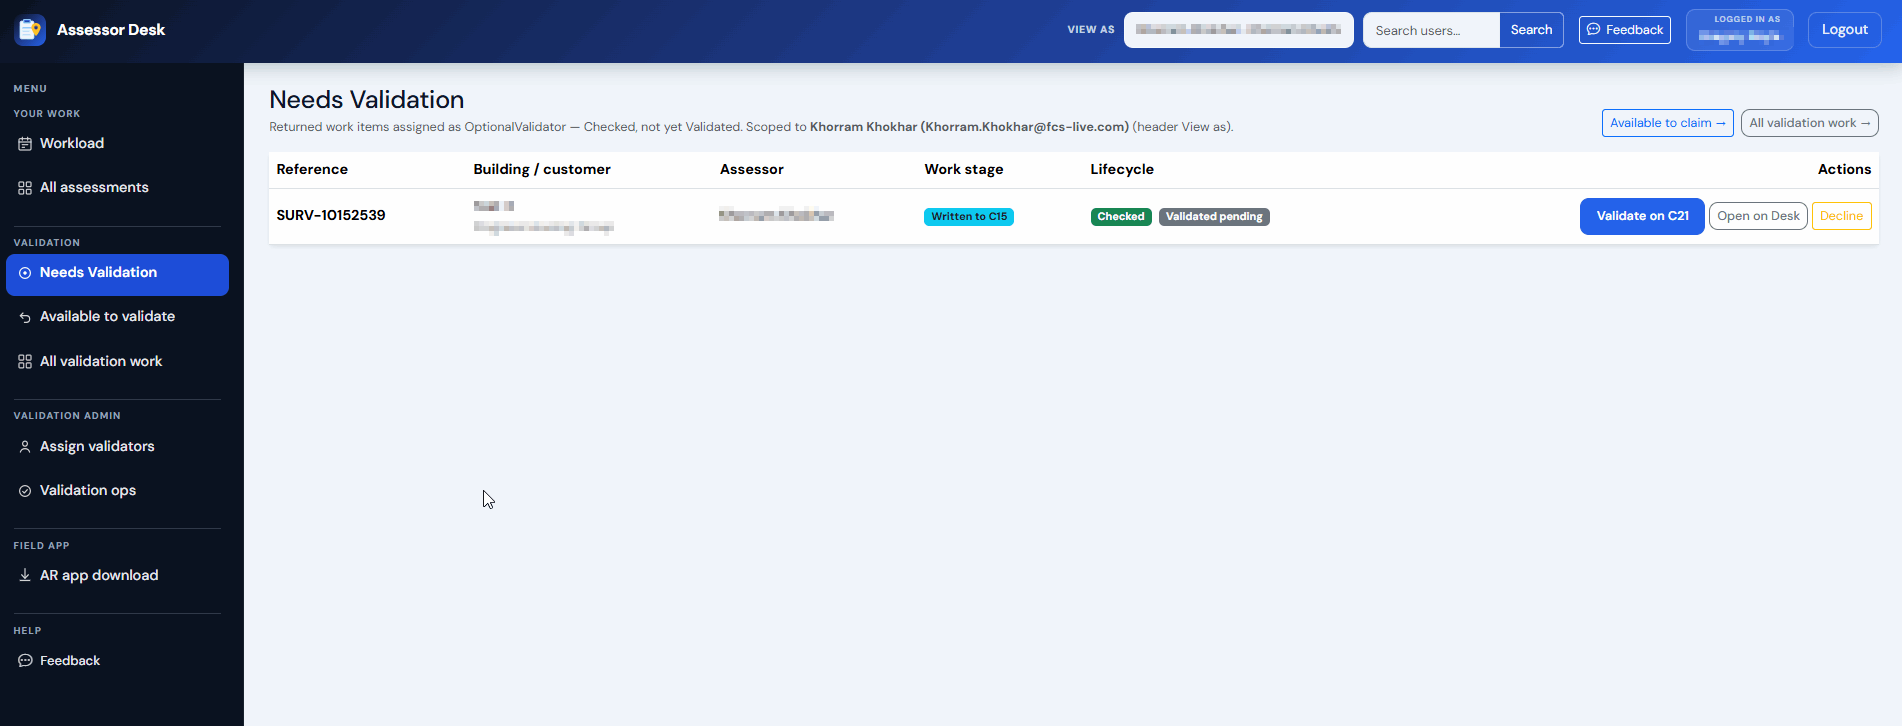
This view allows validators to:
- Review assessments awaiting validation.
- Open assessment records directly in the Portal.
- Open On Desk - Check assessment information before beginning validation.
- Decline the assessment.
This is often the best place to start when reviewing pending validation work.
Available to Validate
The Available to Validate area displays assessments that are available for validators to claim.
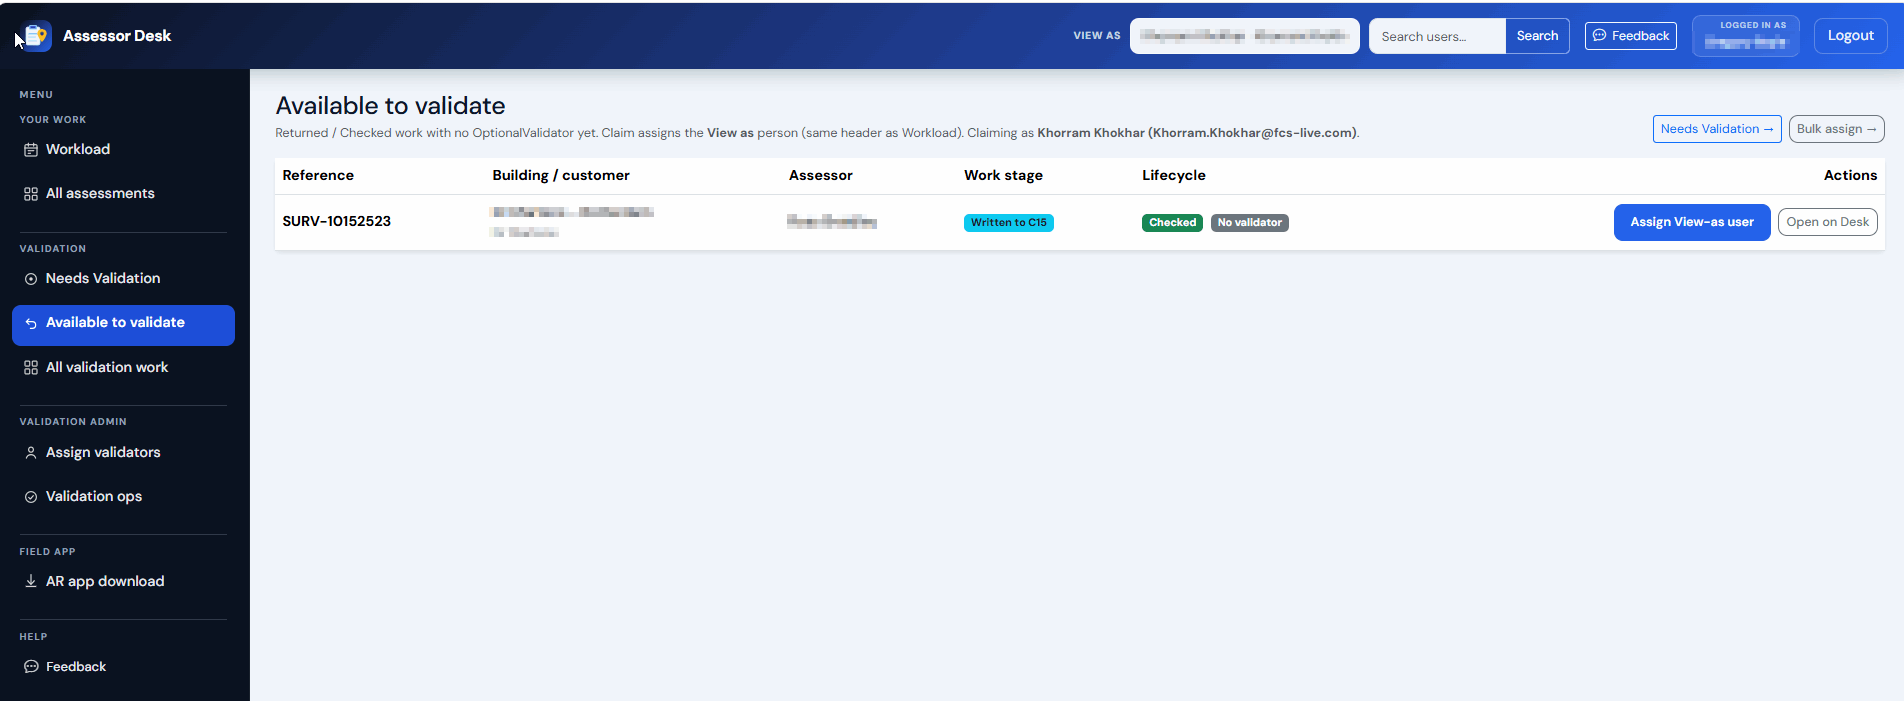
This area helps validators:
- Identify assessments available for validation.
- Review assessment information before claiming work.
- Work can be claimed by hitting Assign View-as User. This will make the Validator be the user who is selected in the View As box in top of the screen.
- Alternatively, assign the validator by selecting Open On Desk > Validator > Select.. (select name) > Assign Validator.
- Select appropriate assessments for validation.
Once claimed, validation work can progress through the appropriate workflow.
All Validation Work
The All Validation Work area provides a broader view of validation activity.
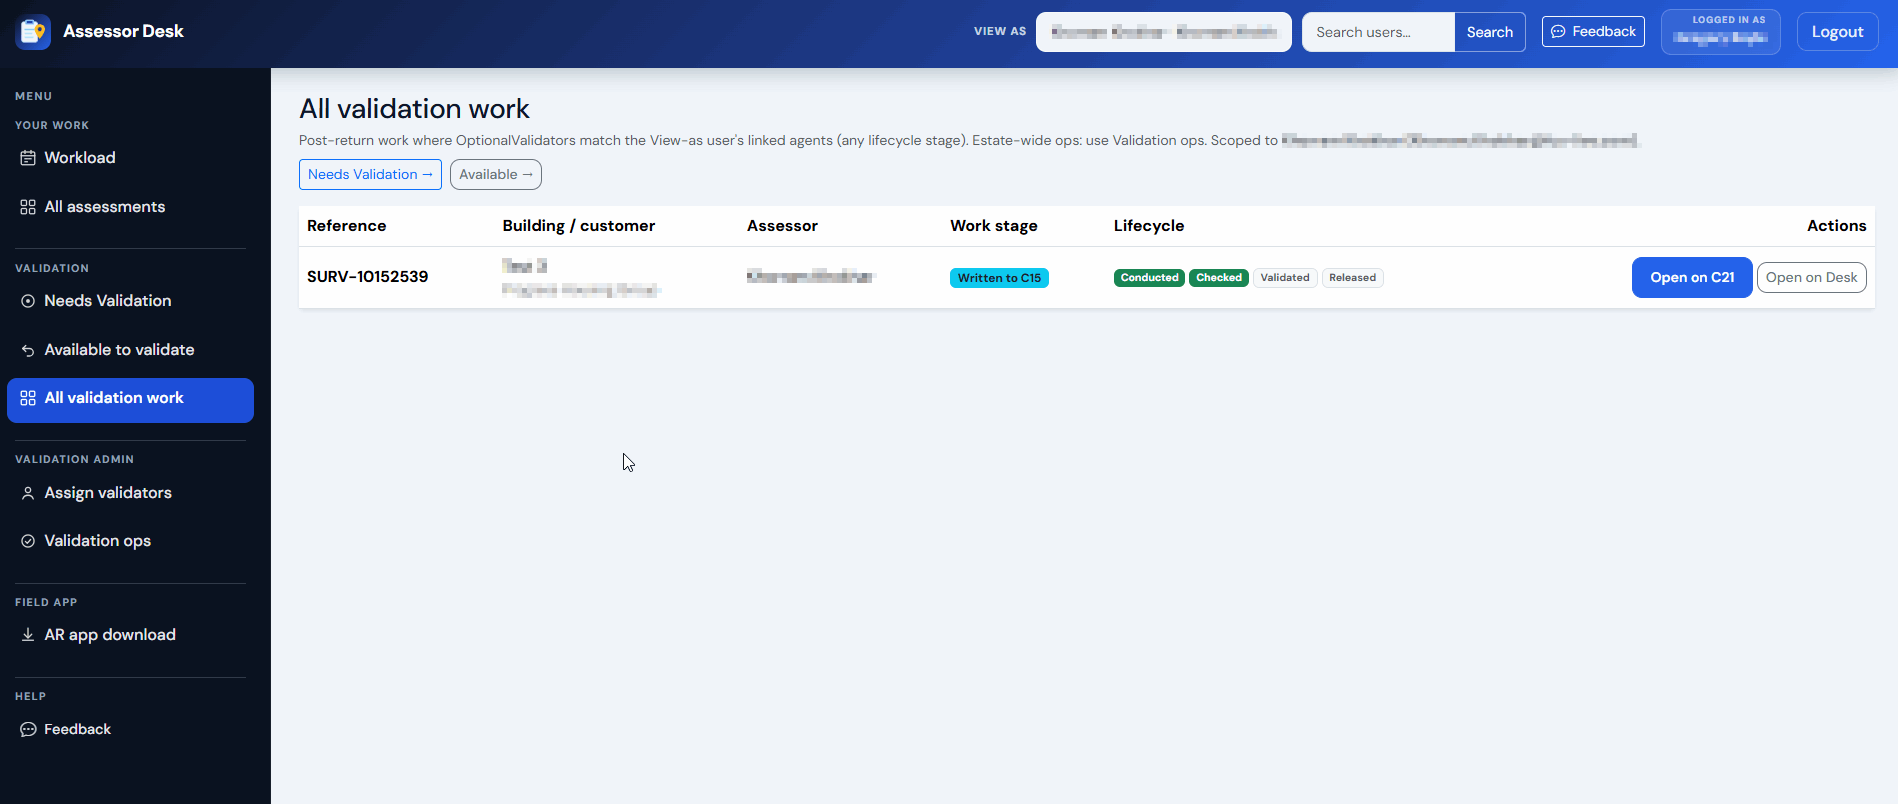
Information shown may include:
- Assessment reference
- Building information
- Assessor
- Work stage
- Lifecycle (where it sits on Conducted > Checked > Validated > Released)
- Open assessment records directly in the Portal.
- Review assessment information by hitting Open On Desk.
This area can be used to monitor validation work and review assessments already involved in the validation process.
Opening an Assessment from a Validation Area
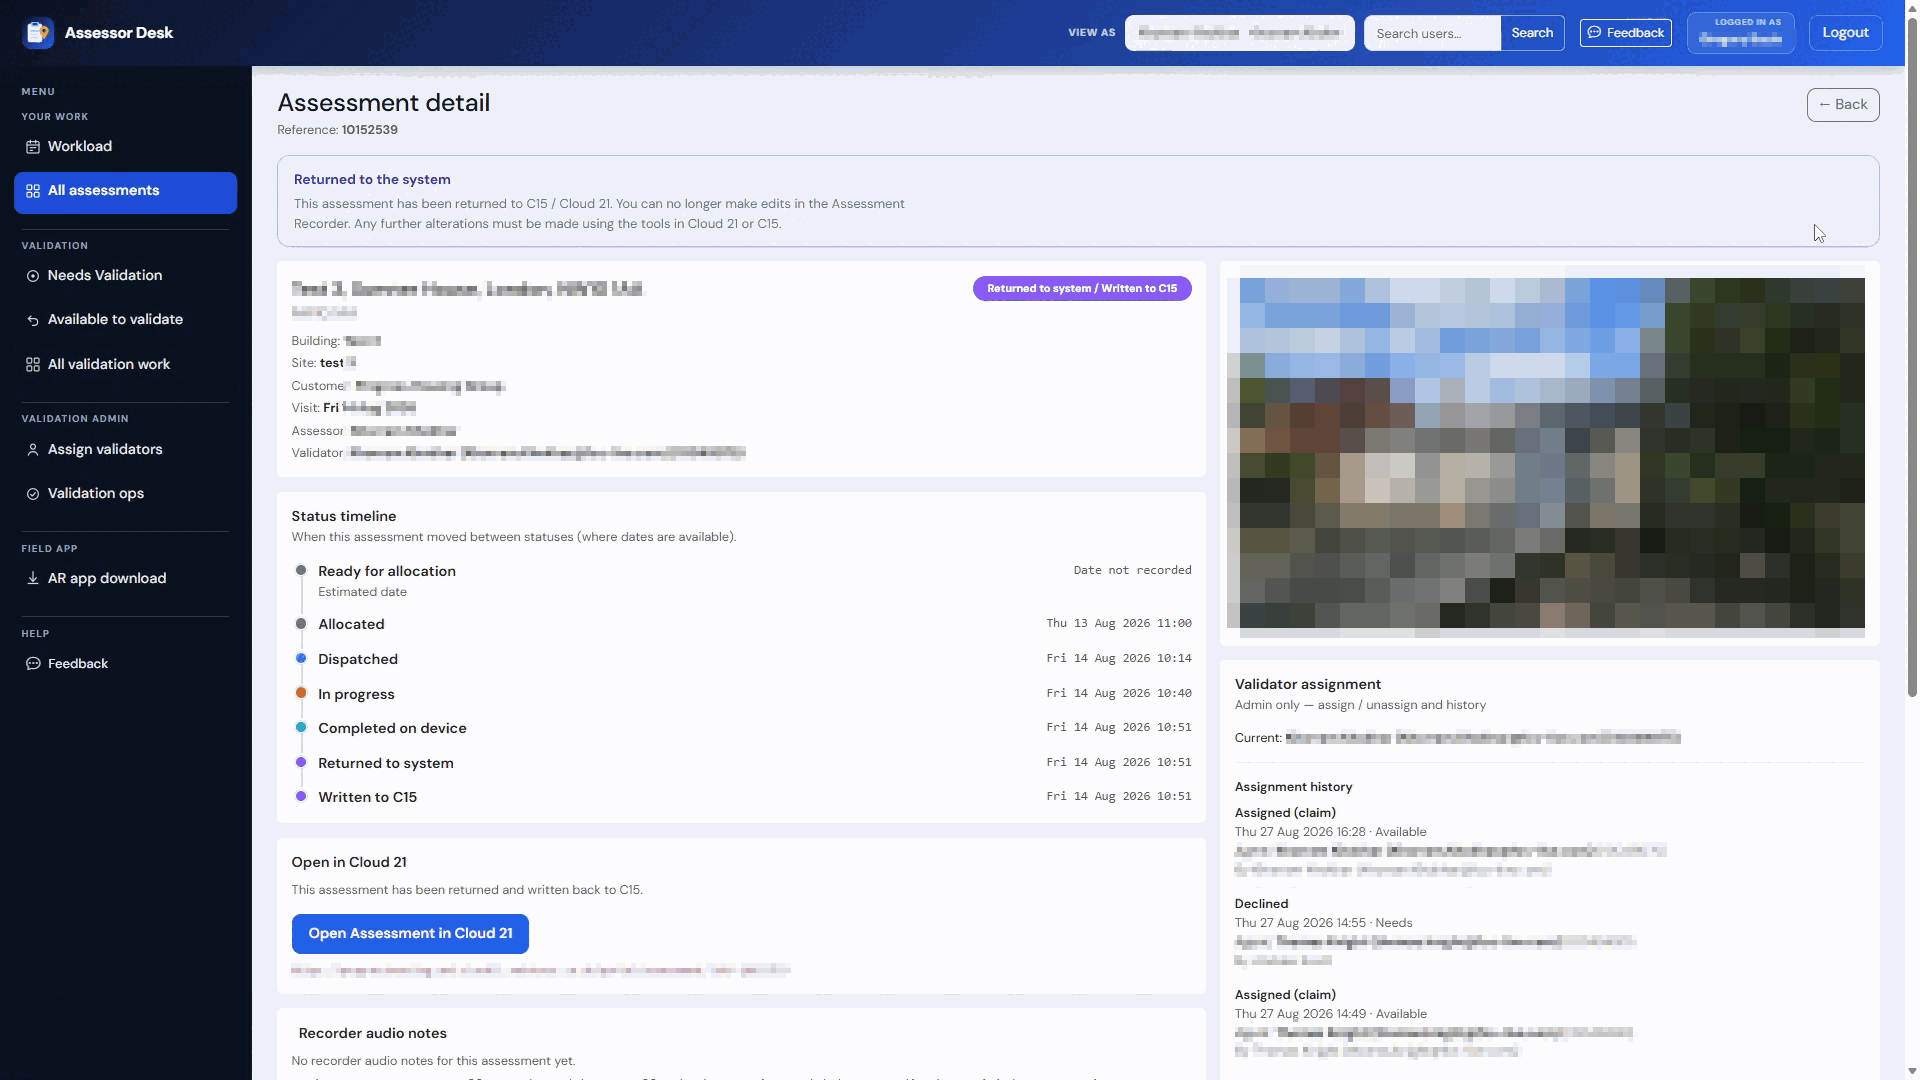
Assessments can be opened directly from any validation area.
- Locate the required assessment.
- Select the assessment.
- The Assessment Detail page opens.

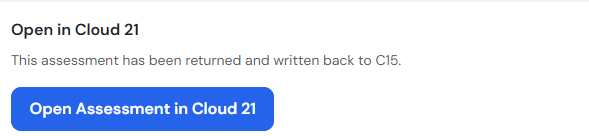
From the Assessment Detail page you can:
- Review assessment information.
- View the status timeline.
- Review validator information.
- Open the assessment in the Portal.
Understanding Validation Workflow Visibility
The validation areas provide visibility of work at different stages of the validation process.
Typical activities may include:
- Identifying assessments awaiting validation.
- Reviewing available validation work.
- Monitoring validation activity.
- Reviewing validator assignments.
- Tracking assessment progress.
This ensures that validators can quickly identify assessments that require attention.
Working with Assessment Information
Before beginning validation activities, it is good practice to review:
- Assessment details
- Assessment status
- Status timeline
- Validation history
- Supporting information available in the Portal
This helps ensure validation decisions are based on the latest available information.
Tips
- Start with Needs Validation when looking for assessments requiring validator review.
- Use Available to Validate when claiming new validation work.
- Use All Validation Work when monitoring broader validation activity.
- Open the assessment record before performing validation activities to review assessment history and status.
- Use the Portal when detailed assessment information is required.
Next Steps
Continue with:
Was this article helpful?
That’s Great!
Thank you for your feedback
Sorry! We couldn't be helpful
Thank you for your feedback
Feedback sent
We appreciate your effort and will try to fix the article